How Kanban Software Makes Backlog Grooming Simple

By: Steve Stedman
CEO at Uzility Software
Some of the first backlog grooming meetings that I participated in as a scrum master were extremely painful. I would be working with multiple product owners and many of them weren’t using the same system to manage their backlogs. Some were using Excel to manage their back log, others using a text file, or a Word document. With any of the typical office tools, it was challenging to organize the backlog into a way that workflow could be updated, allowing the product owners to get their backlog items to the state defined in our definition of ready. Then, once the backlog items were ready, someone would have to transfer the items from Excel or Word into some other system, or to eventually print cards. I had a hard time understanding the value of agile when so much time was being spent just copying and pasting in Excel.
I began to realize quickly that creating a uniform location and structure to building a backlog was an important part of the agile process. There was a need that was not being met within my project teams and I decided to fix it. Part of the reason that I started down the road to the creation of Uzility was to eliminate the need for the painful copy and pasting from excel to other systems, and instead have an easy drag and drop process that integrates card creation and backlog management into the Kanban board.
The way the backlog grooming system is structured means that the product owner can put as many cards into their backlog as they want. The most important cards get dragged to the top of the column, indicating their priority. The backlog items with the highest priority are given a final edit, and dragged into another column where developers can then take the prioritized backlog and use it in sprint planning.
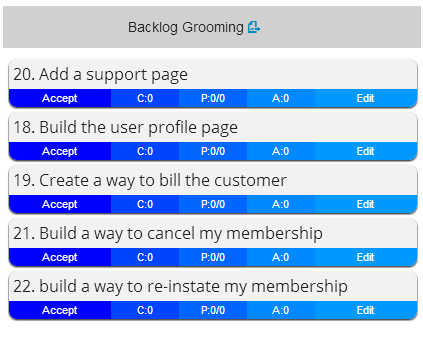
Your backlog may look something like this.

If you want to prioritize card #20 “Add a support page” as the highest priority, simply drag it to the top of your backlog. The prioritized list would look something like the following:
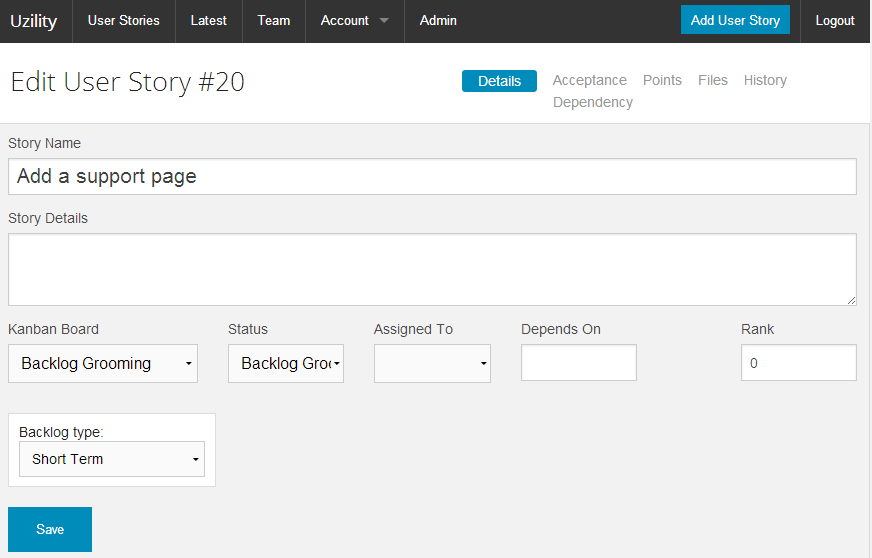
Now that “Add a support page” is the top user story, you can click the edit button, or double click the card to get more details. Keep in mind that the numbers shown on the cards are the card number, not the sort order. In this case as shown below, there are no more details, the user story has not been completed yet.
To complete the card, fill in the details section. It might look something like this:
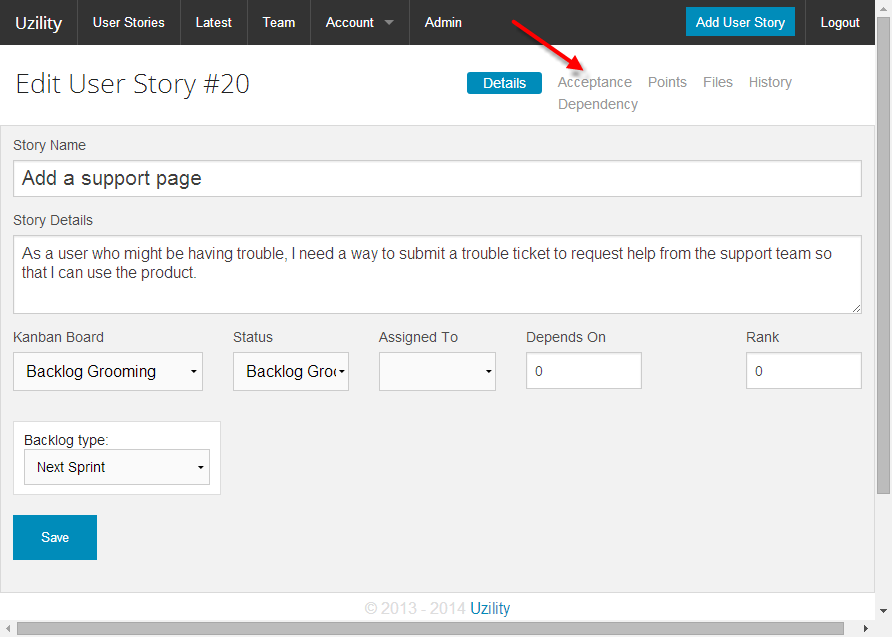
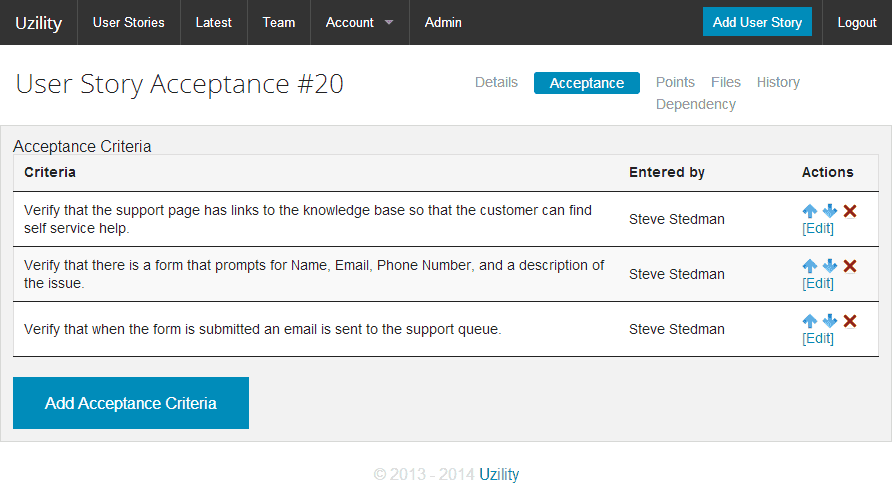
Next click the “Acceptance” tab and hit the “Add Acceptance Criteria” button to start adding your acceptance details.
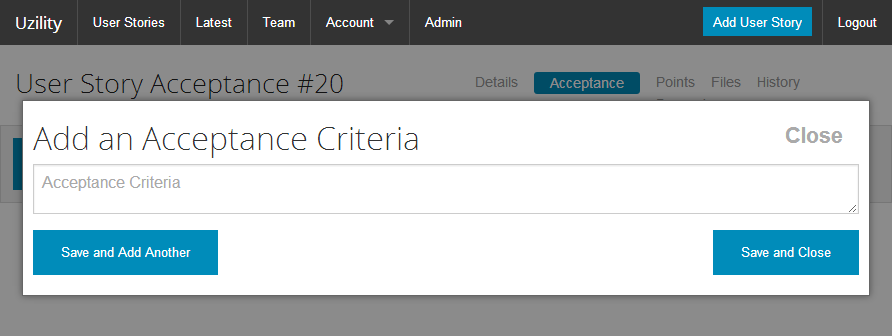
Notice the “Save and Add Another” button. This allows you to quickly add several acceptance criteria without having to leave the form and come back in. After adding a few acceptance criteria your acceptance page may look something like this.
If you have files to attach, you can use the “Files” tab.
At this point your new card should be finished and ready to go to the Sprint Planning Stage. Repeat this process for the rest of the User Stories in your backlog an you will be ready for that next sprint planning meeting.
Related topics:
- Uzility
- Planning Poker
- Backlog Grooming
- Acceptance Criteria
Sprint Planning
More from Stedman Solutions:

Steve and the team at Stedman Solutions are here for all your SQL Server needs.
Contact us today for your free 30 minute consultation..
We are ready to help!
Leave a Reply